Explore the blog
Tag:slimline card
Posts mit dem Label slimline card werden angezeigt. Alle Posts anzeigen
Donnerstag, 2. Juli 2020
- Werbung/Ad - 

Hi and welcome to a new blog post!

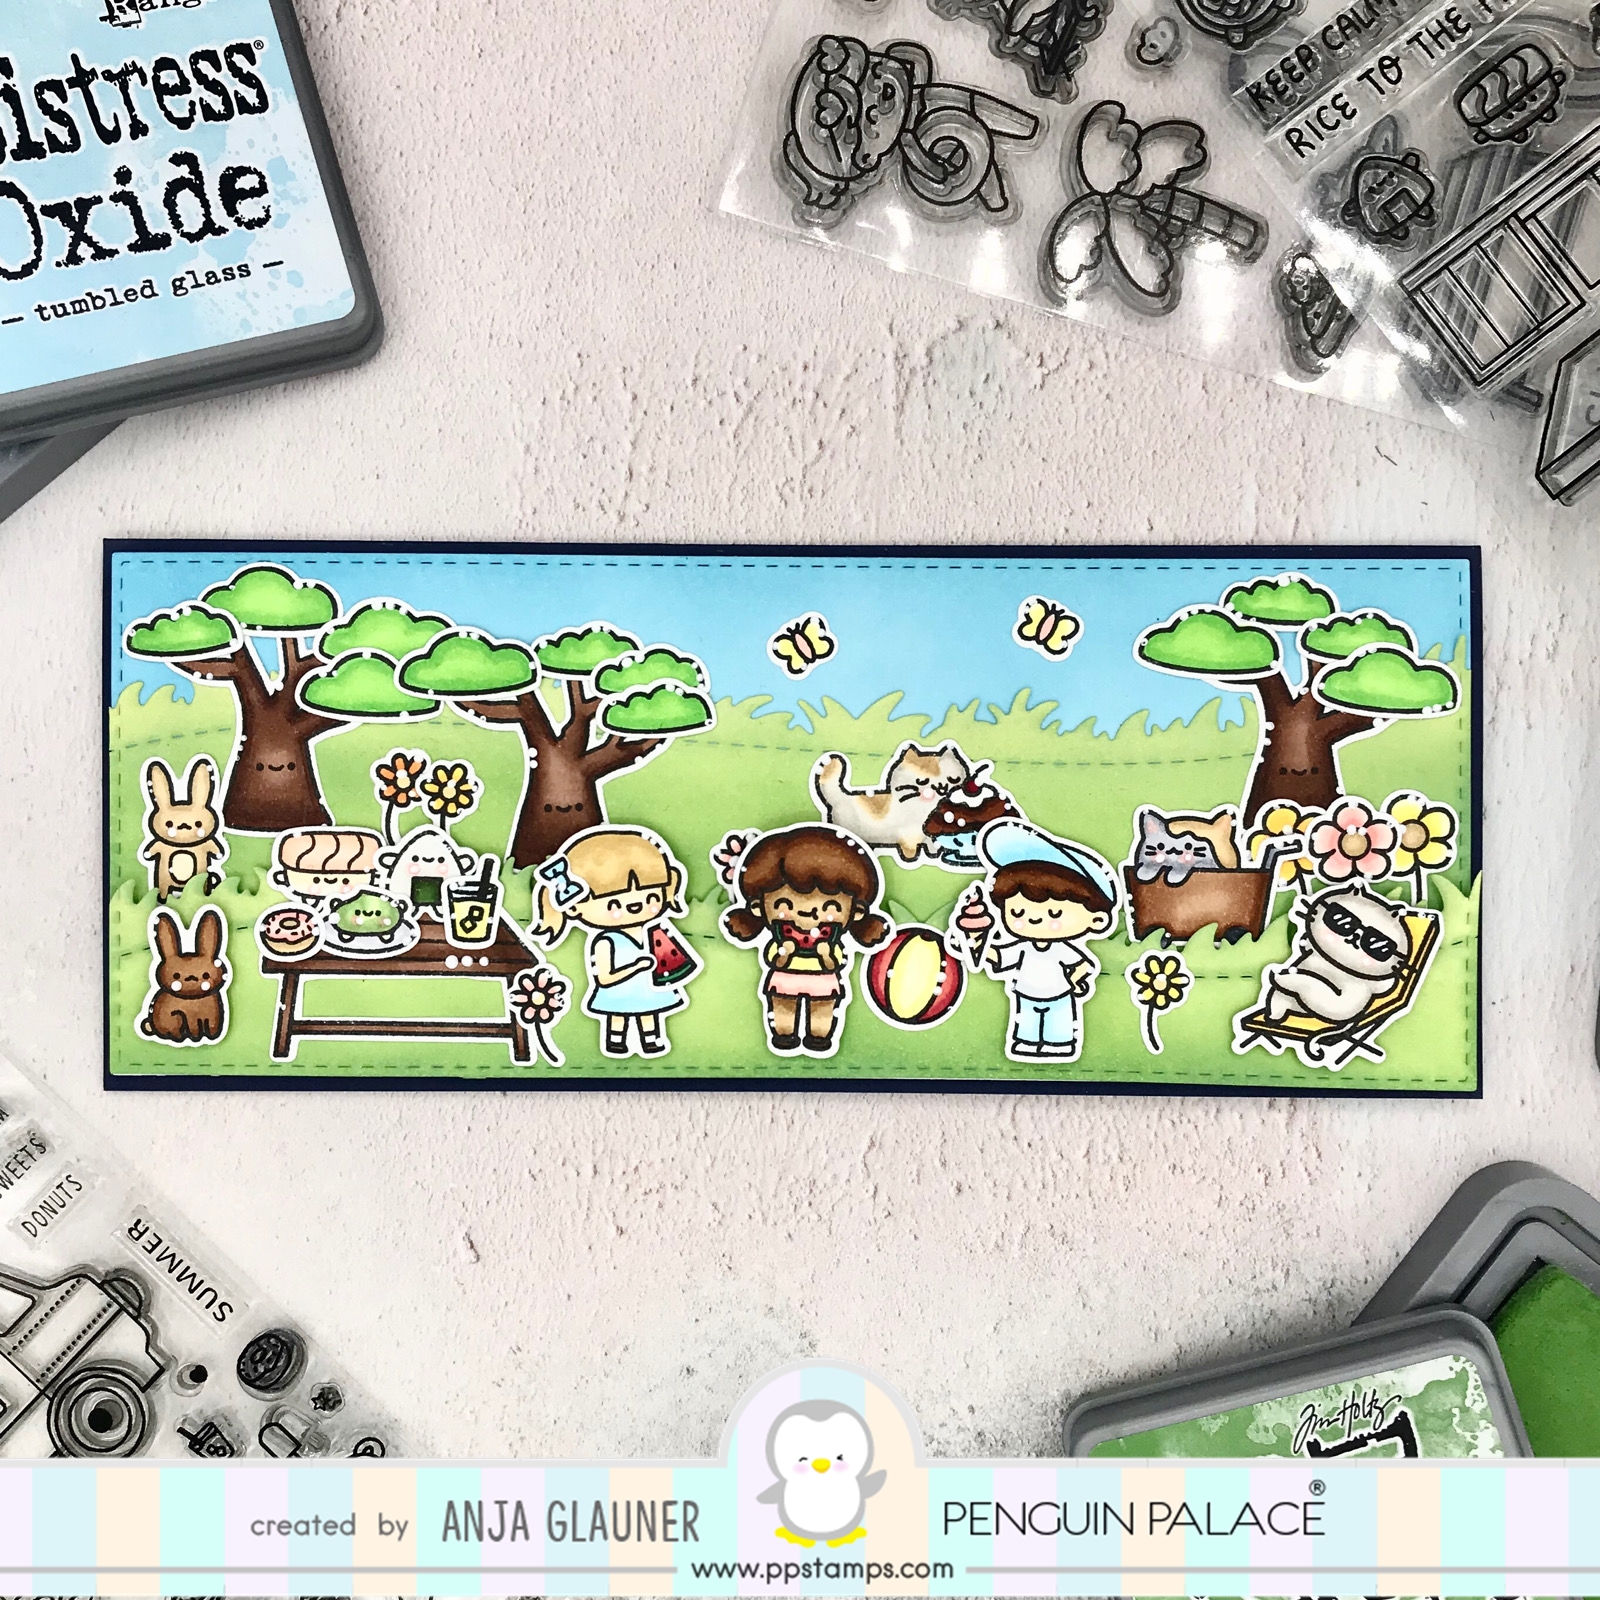
Today I'm sharing a new card that I made using several stamp sets from Penguin Palace Stamps!


I used 5 stamp sets! That's what I love about Penguin Palace's products! They are so easy to combine with each other!
I used:

The Sweetest Truck & Penguin Perfect Cuts
Never Give Up & Penguin Perfect Cuts
My BFF & Penguin Perfect Cuts
Summer Sunshine & Penguin Perfect Cuts
Bee Happy & Penguin Perfect Cuts

I began this card by die cutting my card panels. I used slimline dies from Trinity Stamps. I die cut 3 stitched slimline panels and 2 of them were die cut with grassy hill border dies.
I ink blended tumbled glass Distress Oxide Ink over the stitched panel. Then I ink blended mowed lawn and shabby shutters Distress Oxide Inks over the grassy borders.


Next I stamped out all the images from the 5 stamp sets and colored them in with my Copic Sketch markers. This took me hours and hours! After coloring I die cut them with the coordinating Penguin Perfect Cuts and added white dotted highlights to the images.


To finish off, I assembled my card! I used liquid glue and foam tape to create dimension on my card.

Creating such a big scene is always exciting - you never know what will be created at the end, because you always change your ideas!

I hope you like my card!

Thanks for stopping by and happy crafting!

Anja
If you like this post, be sure to follow my blog! (Buttons are in the sidebar on the right.) ♥
Freitag, 14. Februar 2020
- Werbung - 
Hi, everyone!

Today I'm sharing a new slimline card I made using the Summer Sunshine stamps and coordinating Penguin Perfect Cuts and Let's Catch Up stamps and coordinating Penguin Perfect Cuts from Penguin Palace.


I started by stamping out the cute images and colored them in with my Spectrum Noir Illustrator and Copics. I die cut them with the coordinating Penguin Perfect Cuts and added white dotted highlights.


Next, I die cut a White layer with slimline dies. I die cut this layer again with border dies to create the different pieces for my Background: ocean, beach and sky. Then, I ink blended Blueprint Sketch and Peacock Feathers Distress Oxide Ink for the ocean Portion. For the beach I ink blended Antique Linen and for the sky and stenciled clouds Worn Lipstick Distress Oxide Inks. I splattered water and Lawn Fawn Liquid Stardust over the ink blended portions.


I die cut another White layer with the same slimline die. With another slimline die I die cut a pink layer. I also cut a dark blue card base.


I glued my card base and the different layers together and moved my stamped images back and forth to see how I wanted to set my scene. Next, I stamped the sentiment with VersaMark and embossed it with white WOW embossing powder.


To finish off, I adhered all of my characters with foam tape and liquid glue. I just adore this summer scene and I hope you too!


Thanks for stopping by and happy crafting!

Anja
If you like this post, be sure to follow my blog! (Buttons are in the sidebar on the right.) ♥
Freitag, 24. Januar 2020
- Werbung - 
Hi, everyone!

Today I'm sharing this new slimline card I made using the Rabbit Cafe stamps and Penguin Perfect Cuts from Penguin Palace. It took me hours, but I'm happy with the result!


I started by stamping out the all cute images and colored them in with my Spectrum Noir Illustrator. I die cut them with the coordinating Penguin Perfect Cuts and added highlights with a white gel pen.

Next, I die cut my layers and cut white cardstock to size for my card base. Then I used a stencil and Distress Oxide Inks to create the background. I masked the top of the layer and ink blended over my stencil using pumice stone Distress Oxide Ink. Next I removed my masking tape from the top of this layer and ink blended this portion with dried marigold Distress Oxide Ink. Then I watered down two different golden colors from the Gansai Tambio Starry Colors on my glass mat and splattered them over the entire ink blended portion.


I glued the two layers to my card base and designed my scene. It was a longer process to find the right position of my stamped images!
After I was satisfied with the final version, I glued the images on my card. The images in the foreground were adhered with foam tape to create dimension.


To finish off, I stamped the sentiment with VersaMark and embossed it with gold embossing powder on a strip of cardstock and glued it to my card.


I just love the cute characters from Rabbit Cafe and I hope you too!


Thanks for stopping by and happy crafting!

Anja
If you like this post, be sure to follow my blog! (Buttons are in the sidebar on the right.) ♥

@stampinanja

Latest Pins